EDITS.WS

Tag: Stackable Guides

  • Translate Stackable Websites with Weglot

    Having a website means being accessible to users all around the globe. However, what use is it if foreign language speakers do not understand your content? It would be such a great advantage if website owners are able to communicate effectively through different languages.

    Offering multiple language translations will help websites stay competitive in today’s global marketplace because not only will you reach a wider audience, this opens up the opportunity of increasing conversions on your website. Studies actually show that translating a website into a local language increases conversions to an average of 70%.

    The benefits are clear, now, how can you offer multiple language translations? We’ve actually partnered with the Weglot team to ensure compatibility with all Stackable blocks!

    What is Weglot?

    Weglot is a cloud-based translation management system that allows website owners and developers to easily make their websites multilingual. It offers a simple and efficient way to translate websites into multiple languages, without requiring any technical skills or knowledge of code.

    Weglot works by integrating with your website’s code and automatically detecting all of your content, including text, images, and videos. You can then translate your content into multiple languages using Weglot’s intuitive translation interface, which allows you to edit and proofread your translations before publishing them live on your website.

    How to Translate Your WordPress Website Using Weglot?

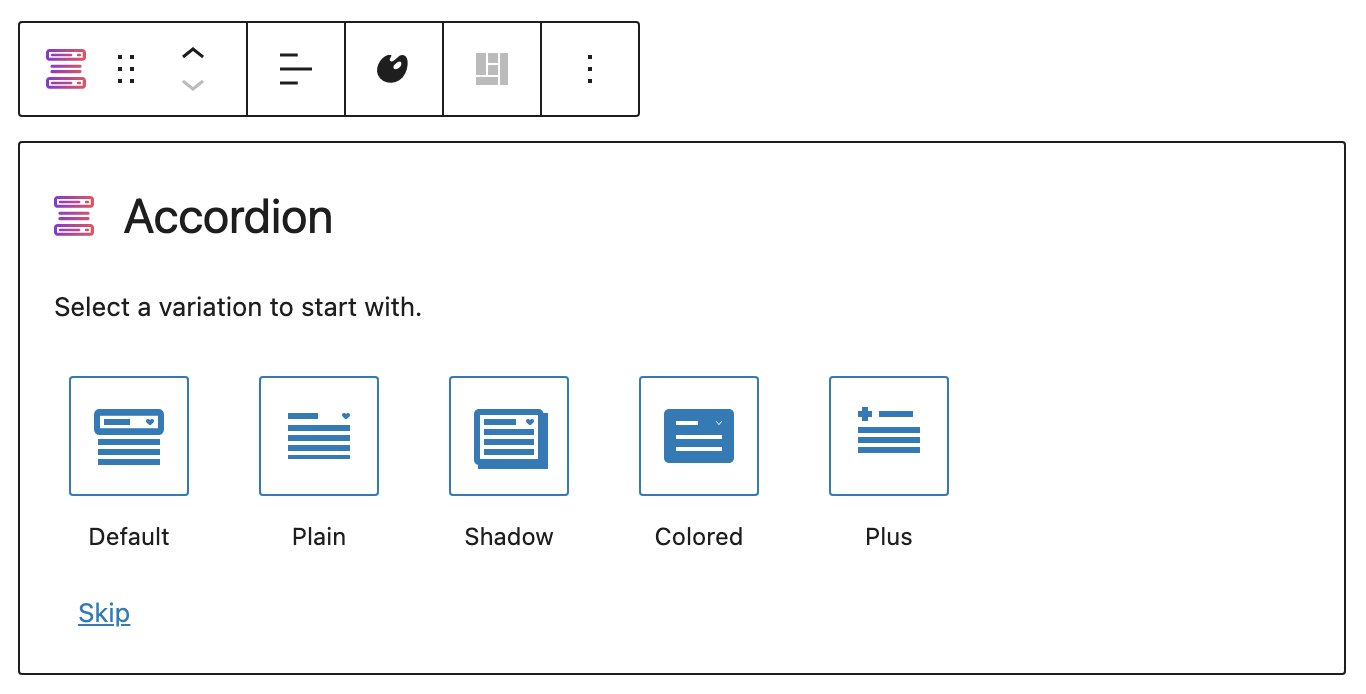
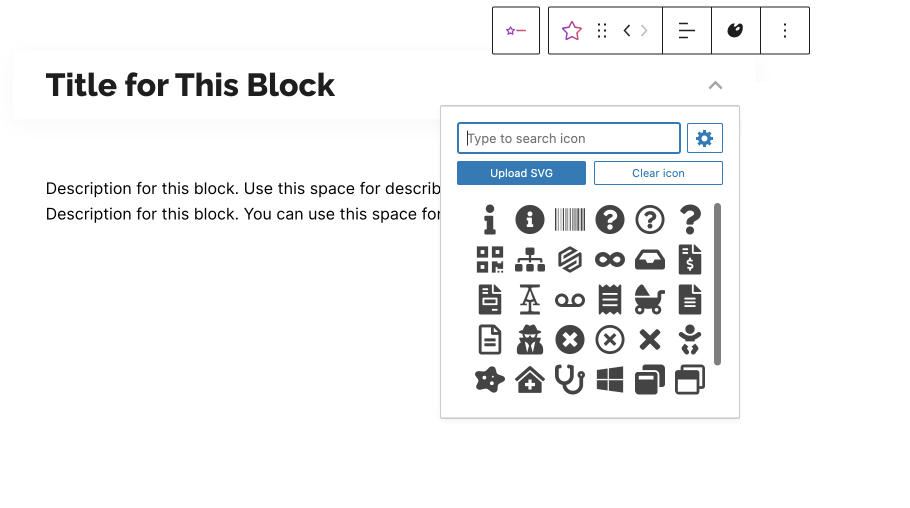
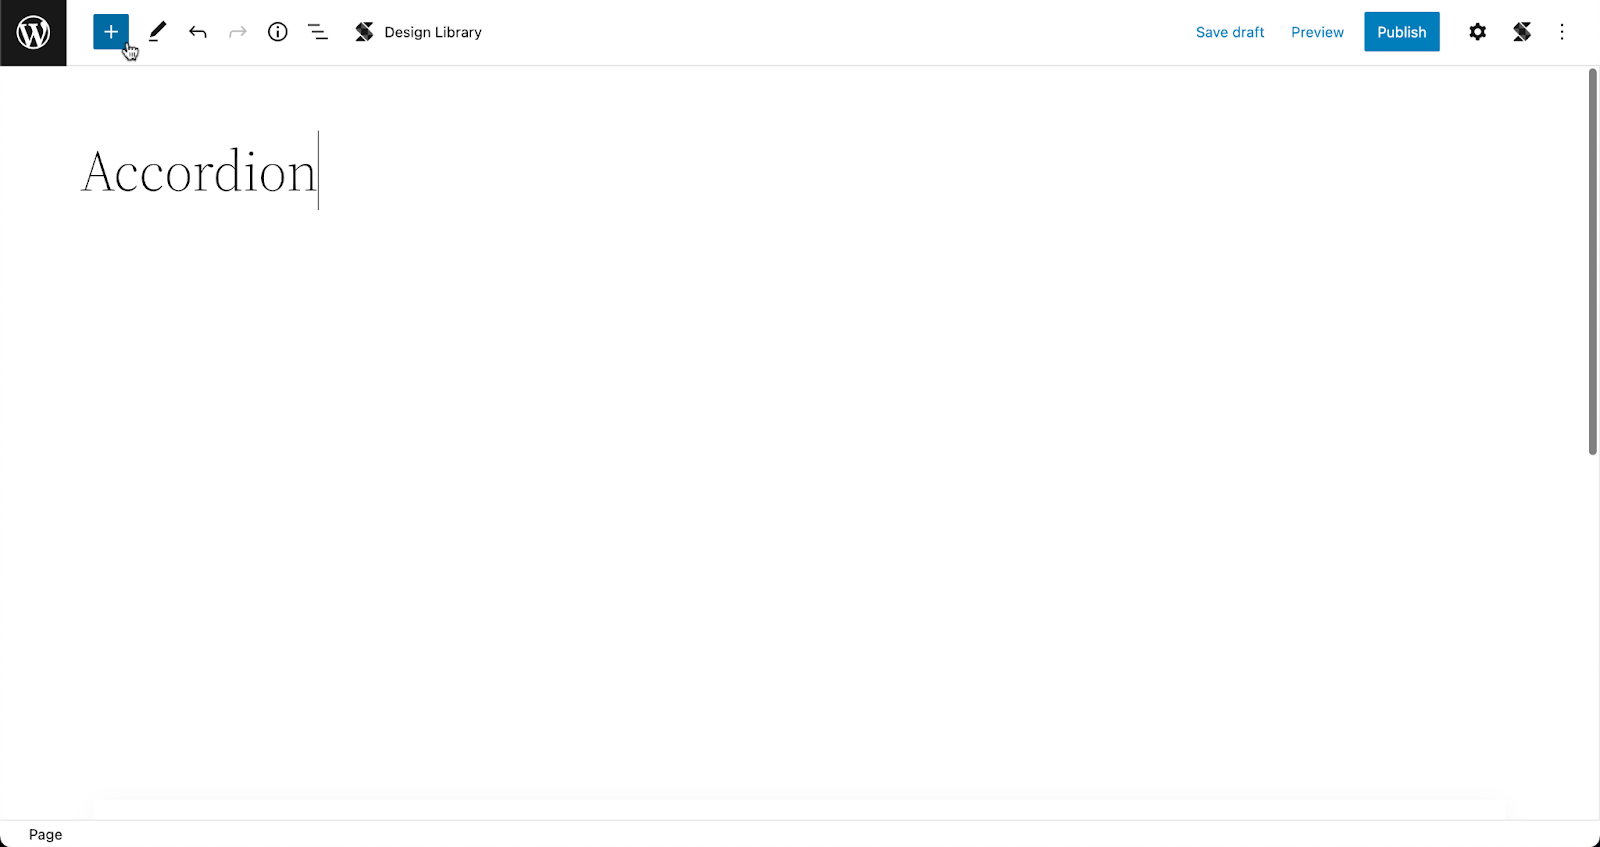
    Translating your WordPress website with Stackable blocks using Weglot is pretty easy. As an example, here is a website made with Stackable blocks:

    To make translations available, just follow these steps:

    Step 1: Sign up on Weglot

    Head over to https://dashboard.weglot.com/register and enter your email address and create a password. Afterwards, click Sign up.

    After creating your account you will brought to the dashboard but to access it, you will first have to confirm your email address. You should find an email confirmation from Weglot in your inbox.

    Step 2: Create a project

    You will first need to create a project. Once you’re in your dashboard, click Create a project.

    You will be asked to name your project and select the CMS that you’re using for your website. Here, just input a Project Name and select WordPress for the Webstie Technology drop down menu. Click Next.

    You have now created your Weglot project and you will be brought to the Setup page. Here, you will find your API key. You will need this for the following steps.

    Step 3: Download and Activate Weglot on your WordPress dashboard

    First head to the Add New page for plugins.

    Type in Weglot in the Search bar. It should be the first entry in the search results.

    Download and activate the plugin.

    Step 4: Setup Weglot

    You will find Weglot settings on the top toolbar menu. Hover over it and click Plugin settings.

    You will now be brought to Weglot’s Main configuration page. It looks like this:

    Remember the API Key you were given in Step 2? You will need this and you have to copy it.

    Now paste it into the API Key field in the Weglot configuration page. Select your website’s original language in the Original language drop down menu, and finally, input the languages that you want to translate your website into in the Destination languages field. In our example below, we selected Korean and Japanese. Click Save Changes.

    And that’s it! Your website is now multilingual!

    When you head to your website, you will now see the small Language button on the bottom right of your page!

    Select any of these and your page will now be translated! In this case, we’ve selected the Korean language and the Stackable blocks now reflect that.

    In four easy steps, you now have a multilingual website!

    How to Manually Translate Strings in Weglot?

    You can take this a step further and edit translation strings manually. To do this, head over to https://dashboard.weglot.com/register and log into your account

    Then you can manage your translations on your Weglot dashboard.

    If you click on any of your translated languages, you will see that you can manually edit your translations.

    As an example, in the first entry “A WordPress blog made with Stackable”, the word Stackable was translated in Korean but we want to keep the word Stackable as English.

    Just hit the Save button (check icon) and head back to your website. The change should be reflected on your website like in the image below:

    Conclusion

    Weglot has emerged as a compelling solution for website translation on WordPress, offering seamless integration. Its ability to automatically detect and translate website content allows website owners to effortlessly translate and manage their content in multiple languages. Stackable’s compatibility integration with Weglot ensures a smooth user experience and expands your website’s reach to a more global audience.

  • How to Create a Horizontal Layout on WordPress

    Did you come across a website that scrolls left to right instead of the usual top to bottom? That’s called a horizontal layout.

    In web design, it refers to a website where the whole content is laid out horizontally. Horizontal layouts are great options for catalogs, portfolios, or brochure websites. Vertical scrolling layouts have been the norm for the past decade, and using horizontal layouts are very out of the box.

    Here’s a cool example of a website with a horizontal layout:

    We created the example above on WordPress using Stackable, a free plugin that comes with powerful yet lightweight custom blocks that will allow you to create any type of website that you want without writing a line of code! If you want to create a website similar to the example above, then keep reading! We’ll show you step-by-step how to build this scrolling horizontal website on WordPress.

    How to Create a Horizontal Layout Design on WordPress using Stackable

    Our Horizontal Scroller block has controls and design options that allow you to create anything from sliders to full horizontal layouts. It comes with our free plugin that you can download here.

    Once you have Stackable installed on your website, you can now start building your horizontal website!

    First, let’s add our horizontal scroller block by typing /horizontal scroller.

    Make the alignment of your horizontal scroller “full width” so that it covers the whole website. You can do this by clicking the Align icon in the Toolbar and selecting the Full width option.

    Let’s now add or reduce the number of columns of our horizontal scroller by simply typing our desired number in the text box of the Columns control under the Layout panel of the Layout tab. Or you can also use the slider beside it.

    After that, let’s increase the Item Width setting of our horizontal scroller to 800px so we have more space to work on. You will also find this in the Layout panel of the Layout tab.

    Now, we’ll increase our Column Inner Spacing value to 30px so we can have a margin for each of our columns inside the horizontal scroller.

    horizontal 7.png

    Now that we’re done with setting up the layout of our Horizontal Scroller block, we’ll move on to designing each inner column.

    Let’s start by adding an Image block inside the first inner column and a Columns / Container block below it. Select the 33 / 33 / 33 variation in the layout picker.

    This 3-column container is where we will be putting our text. Now, select each inner column one by one, and set the Column Spacing to 0px in the Layout panel.

    Let’s add our image and text. Make sure that the text on the leftmost inner column is aligned left and your text in the rightmost inner column is aligned right.

    Now, select the rightmost inner column, and in the Layout tab, you will find the Size & Spacing panel. Select this and locate the Content Vertical Alignment control. Select the third option which is Bottom.

    Now let’s style it! Let’s change the typography settings of our text by selecting the text in the leftmost column. In the Styles tab, you will find the Typography panel.

    Click the pencil icon beside the Typography controls. For this first Text block, we used the Playfair Display font, changed the Font Weight to 700, and the Font Size to 80px.

    Now, in the Text Color control, we’re typing in a custom hex code for a grayish tone.

    Next, let’s design the typography for the text in the right column. Select the Text block, and click the Typography controls again. For this text, we’ve set the typography settings to the Poppins font family, 300 for the font weight, and 40px for the font size. We’ve also decreased the line-height to 0.8 and changed the color to the same grayish tone.

    Finally, we’re adjusting the sizes of each column to make the first text more readable.

    Let’s now proceed to the 2nd slide. Let’s add in a 2-column container first. Then on the right container, let’s add another 2 column container. This is so that if we duplicate the 2 column container inside the right container, it will duplicate downwards. With that being said, let’s duplicate these 2 columns 3 times. After that, insert 2-column containers inside the last 2 Column / Container blocks. These containers are where we’ll be putting additional text.

    Don’t forget to set all column spacings to 0. You can do this quickly by copying the styles and pasting them to each container.

    Next, let’s put in our image and texts. Let’s adjust the alignment of some texts as well. See in the video below which specific containers we’ve added the text to.

    After that, let’s change the typography settings of our text in the Styles tab. Let’s make some adjustments to the layout of the image and columns as well. Let’s also put a spacer at the top of the image to prevent it from moving up.

    First, let’s select the Portfolio text. For this, here are the typography and layout settings – Font Family: Playfair Display, Weight: 700, Size: 60px, Bottom Margin: -106px, Top Margin: -30px.

    Second, for the Pringles text, here are the typography settings – Font Family: Playfair Display, Weight: 700, Size: 30px.

    Third, for the 3D text, here are the typography settings – Font Family: Poppins, Weight: 300, Size: 30px.

    Fourth, for the additional text below, here are the typography settings – Font Family: Poppins, Weight: 300, Size: 15px, Line-height: 1px, Text Alignment: Alight Left.

    Finally, for the image, set the Height to 400px.

    For the 3rd column, let’s duplicate the 2nd column of the horizontal scroller since their layouts are similar. After that, let’s remove some texts and images that will not be needed for this column. Next, let’s rearrange and adjust some containers. Then, let’s add in our new images and texts. It’s that easy!

    Now, let’s move on to the 4th column. Since the contacts section has a similar layout with the 2nd column, let’s duplicate the the 2nd column again. Then, let’s move the duplicate to the right most part of the horizontal scroller. Now, let’s rearrange, remove, or add our containers. Next is to add our new texts and images. After that, make some adjustments to your texts by tweaking the typography settings. You can also copy the styles of other texts like what I did in the example below. Finally, make some micro adjustments to the alignment of your texts to make the overall layout look cleaner.

    Finally, let’s add a background for our horizontal scroller to make our website look even better. Let’s also remove any unnecessary items in our website such as excess columns in our horizontal scroller.

    Finally, why don’t we preview and check out how our website looks?

    Wasn’t that easy? Now we have a horizontal scrolling website that’s visually appealing and

    Conclusion

    Creating a horizontal layout on WordPress can be a great way to enhance the design of your website! By following the steps in our tutorial, you can easily create a unique horizontal scrolling website with Stackable! Now you can make your website stand out and keep visitors engaged.

  • Creating an accordion layout with Gutenberg for your WordPress website: Step by Step Guide (2022)

    Last Updated on June 27, 2022

    Want to give readers detailed information in a clear and coherent way? Learn more about what an accordion layout is, how it works, and how it can be used to improve user experience.


    What is an accordion?

    Stackable’s Accordion block

    It is a stacked list of headings that reveal more details (or hide them) upon a tap or click. It’s a neat and compact way to create organized, detailed content. This gives website visitors more control over what content they may consume by having the capability to expand or minimize it. This ultimately improves user experience because giving people control is #3 on the list of the top heuristics for usable design.

    It is perfect to use accordions for FAQ’s, questionnaires, sectioned content, schedules, and for when you want to share detailed information. You can provide all the important information without worrying about overwhelming your readers. When used correctly, the accordion layout can drastically reduce the length of your pages, which minimizes scrolling on your website and improves your website’s load speed.

    One benefit of using an accordion layout includes saving space. Using an accordion reduces the length of your page significantly and the need for scrolling too much. Instead of making your page too lengthy, you get to minimize your content and improve readability.

    It’s also helpful for better organization of content. By using an accordion layout, you give your readers a summary of what information is on the page. It’s also a better alternative for same-page-links because it helps keep the focus of your website audience on the key pieces of content in the same page. 

    Best Practices

    If you want to use an accordion layout to present information on your website, there are certain practices to take into consideration so as not to overuse it. 

    • Make sure that you only put the non-critical information inside an accordion
    • Close accordions by default
    • Use an icon/button to let people know that it’s interactive
    • Do not use an accordion layout more than once in one page

    In this post, we’re going to cover how to add an accordion block in WordPress.

    We’ll then show you how to use the accordion block feature included with Stackable to create a professional accordion layout.

    How to Add an Accordion to Your WordPress Website

    The native WordPress blocks available will not be able to help you create a proper accordion layout, unless you know how to shortcode, OR you could install plugins that simplify adding accordions to your website.

    Stackable is a WordPress plugin that makes it easy to create any website by extending the WordPress block editor. We offer you advanced customizations and additional custom blocks like the Accordion block which will help you create an accordion layout for your content with just a few clicks!

    The Accordion is very flexible, and intuitive. It’s mobile and tablet-friendly because it’s responsive, which means that it adjusts to different viewports without destructing your design. In addition to that, the Accordion block is highly customizable. There are even pre-made layouts that you can start with:

    Layout picker for the Accordion block
    Layout picker for the Accordion block

    You can customize the typography of the content inside your accordion to match the design of your website. Not only that, you may also choose from a vast library of icons to your preferred symbol.

    Icon menu for the icon button
    Icon menu for the icon button

    The best part? It’s free! But before anything, you will have to install Stackable into your WordPress website. You can do this by downloading the plugin from your WordPress dashboard:

    • Once you’re in logged into WordPress, click Plugins > Add New from the left panel
    • Search for “Stackable”
    • Click the Install Now button, then click Activate

    Once you have Stackable installed and activated into your WordPress website, you can finally start using an accordion for your content. Follow these simple steps to use the 

    1. Open or create a new page or post.
    Adding a new page in the WordPress Dashboard
    Adding a new page in the WordPress Dashboard
    1. From the toolbar, click on the Inserter (the blue + button)
    Opening the Inserter inside the WordPress Block Editor
    Opening the Inserter inside the WordPress Block Editor
    1. Type in Accordion and it should appear in the menu. Click the icon and it should be added to your page.
    Adding the Accordion block to the page
    Adding the Accordion block to the page
    1. Select your preferred layout. Don’t worry, you can always go back to the layout picker to change in case you change your mind!
    Selecting a layout in the layout picker
    Selecting a layout in the layout picker
    1. Click on the placeholder text to delete it and add in your content!
    Adding content in the Accordion block

    The inside of the accordion acts like a container so you can add any block you want to, like an image, a video pop up, icons, or basically just about anything else!

    To add more accordions, you can go to the Navigation Panel at the bottom of the Inspector, select the whole Accordion block. Then, click the three dots to view the options and click Duplicate. By doing this, you get to create a new accordion that inherits the style of the first one. Just replace the content with the new information, and you’re set!

    Duplicating the Accordion block to create more accordions

    Further Customizing the Accordion

    You will see all the design settings in the Inspector. Just select the element that you want to further customize and open the Inspector by clicking the gear icon on the toolbar. 

    Opening the Inspector to view the design settings
    Opening the Inspector to view the design settings

    What makes the Accordion block flexible are its settings. With the whole accordion selected, navigate to the Style tab of the inspector, and you will see two toggle options:

    Settings specific to the Accordion block
    Settings specific to the Accordion block

    Every accordion block you add will be closed by default. By toggling on the Open at the start option, it will prompt the accordion to be opened once the page loads.

    The second option, on the other hand, is very helpful when you have multiple accordions in your web page. If this is turned on, each time you open a new accordion, it will cause adjacent accordions to close.

    Here’s a look at how that works:

    Accordion settings in action

    Start Creating Accordion Layouts With Stackable Now

    Just to recap–using accordions is one way to shorten your content without sacrificing readability. Download Stackable now so you can easily create accordion layouts to keep your content organized!